Configure your 360 product presentation
Customize your 360 product presentation online with this tool.
Play with settings like speed, inertia and autorotation.
Copy/paste the code to your project.
Installation
install by
 @3dweb/360javascriptviewer
Starting with 360 product images
The product images
First you need images, a lot of images.
More images means smoother rotations but also more CPU and RAM
usage for your clients.
Consider a number which can split 360 to a whole number. 36 Images
means 10 degrees rotation and 72 means 5 degrees. You can speed up
the image loading by putting your images on a CDN.
Renaming files
If you need to rename the files there are several free utilities
out there.
Check this article over
renaming files
for some inspiration.
Implementation of the 360 product viewer
After you created the product images (and you renamed the files
with a number in it) it's time to put them online.
Just like you do with all your images put them in an accessible
folder online. If you can reach the images in your browser so does
the viewer. Install the viewer and customize it with an intro
animation, a custom progressbar or some other fancy things for a
good integration on your website. You can also collect analytics
data about dragging etc to measure the interest of your visitors.
If you need help with the implementation,
contact us for
more information.
Basic working of the viewer
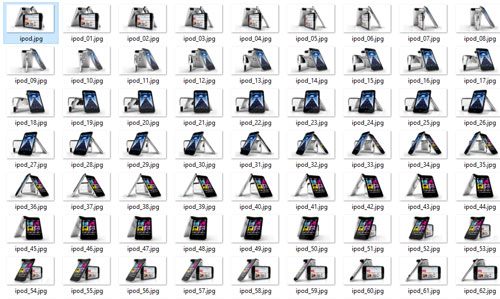
First create a div where the 360 presentation will be created. We use the size of this div to calculate zoom positions. The events for dragging and zooming are also added to this div (default #jsv-holder). Insert a image in it which is often the first image of the 360 image serie. This image will be replaced by the 360 presentation when it's fully loaded. If you don't specify otherwise this image is used to determine the other image filenames. If the main image is product.jpg, the other images in the same folder must be called product_1.jpg, product_2.jpg and so on. But if you have other filenames/locations for your 360 images, you can change this naming format behaviour with the imageUrlFormat parameter.
Comments